主机名:slave.com
OS: centos7.5
软件版本:Oracle 11.2.0.4
cpu: 1个
内存: 8G
swap: 16G
/u01 : 20G
/data: 50G
/backup: 50G
安装方式:CentOS 7为Gnome
二、安装rpm包
binutils-2.20.51.0.2-5.11.el6 (x86_64)
compat-libstdc++-33-3.2.3-69.el6 (x86_64)
gcc-4.4.4-13.el6 (x86_64)
gcc-c++-4.4.4-13.el6 (x86_64)
glibc-2.12-1.7.el6 (i686)
glibc-2.12-1.7.el6 (x86_64)
glibc-devel-2.12-1.7.el6 (x86_64)
glibc-devel-2.12-1.7.el6.i686
libgcc-4.4.4-13.el6 (i686)
libgcc-4.4.4-13.el6 (x86_64)
libstdc++-4.4.4-13.el6 (x86_64)
libstdc++-4.4.4-13.el6.i686
libstdc++-devel-4.4.4-13.el6 (x86_64)
libstdc++-devel-4.4.4-13.el6.i686
libaio-0.3.107-10.el6 (x86_64)
libaio-0.3.107-10.el6.i686
libaio-devel-0.3.107-10.el6 (x86_64)
libaio-devel-0.3.107-10.el6.i686
elfutils-libelf-devel-0.164-2.el6 (x86_64)
pdksh-5.2.14-37.el5_8.1 (x86_64)
三、数据库安装
-
[[email protected] ~]# vim /etc/hosts
193.192.168.4.185 slave.com
2.创建用户和组
[[email protected] ~]# groupadd -g 500 oinstall
[[email protected] ~]# groupadd -g 501 dba
[[email protected] ~]# useradd -g oinstall -G dba -u 500 oracle
[[email protected] ~]# passwd oracle
Changing password for user oracle.
New password:
Retype new password:
passwd: all authentication tokens updated successfully. -
创建目录
[[email protected] ~]# mkdir -p /u01/app/oracle
[[email protected] ~]# mkdir -p /data/oradata
[[email protected] ~]# mkdir -p /backup/{expdbbackup,rmanbackup,onlinelog,archivelog,backupsh}
[[email protected] ~]# chown -R oracle:oinstall /u01
[[email protected] ~]# chown -R oracle:oinstall /data
[[email protected] ~]# chown -R oracle:oinstall /backup - 扩大tmpfs
oracle 11g引入了memory_target参数,memory_target 和 /dev/shm(即tmpfs)有紧密联系,tmpfs的大小制约了memory_target的使用范围
1) 查看tmpfs大小(tmpfs默认的大小是物理内存的一半)
[[email protected] ~]# df -h
Filesystem Size Used Avail Use% Mounted on
/dev/mapper/centos-root 50G 1.2G 49G 3% /
devtmpfs 5.8G 0 5.8G 0% /dev
tmpfs 18G 0 18G 0% /dev/shm
tmpfs 5.8G 8.7M 5.8G 1% /run
tmpfs 5.8G 0 5.8G 0% /sys/fs/cgroup
/dev/sda1 1014M 143M 872M 15% /boot
tmpfs 1.2G 0 1.2G 0% /run/user/0
/dev/mapper/centos-u01 20G 45M 19G 1% /u01
/dev/mapper/centos-data 50G 53M 47G 1% /data
/dev/mapper/centos-backup 50G 53M 47G 1% /backup
2) 编辑/etc/fstab
[[email protected] ~]# vim /etc/fstab
tmpfs /dev/shm tmpfs defaults,size=18432M 0 0
3) 重新挂载
[[email protected] ~]# mount -o remount /dev/shm
5.修改内核参数
1) 编辑/etc/sysctl.conf添加以下内容
[[email protected] ~]# vim /etc/sysctl.conf
#oracle
fs.aio-max-nr = 1048576
fs.file-max = 6815744
kernel.shmall = 8388608
kernel.shmmax = 4294967295
kernel.shmmni = 4096
kernel.sem = 250 32000 100 128
fs.file-max = 6815744
net.ipv4.ip_local_port_range = 9000 65500
net.core.rmem_default=262144
net.core.wmem_default=262144
net.core.rmem_max=4194304
net.core.wmem_max=1048576
#end
2) 执行sysctl -p命令使文件生效
[[email protected] ~]# sysctl -p
fs.aio-max-nr = 1048576
fs.file-max = 6815744
kernel.shmall = 8388608
kernel.shmmax = 4294967295
kernel.shmmni = 4096
kernel.sem = 250 32000 100 128
fs.file-max = 6815744
net.ipv4.ip_local_port_range = 9000 65500
net.core.rmem_default = 262144
net.core.wmem_default = 262144
net.core.rmem_max = 4194304
net.core.wmem_max = 1048576
- 修改系统资源限制
1) 编辑/etc/security/limits.conf添加以下内容
[[email protected] ~]# vim /etc/security/limits.conf
#oracle
oracle soft nproc 2047
oracle hard nproc 16384
oracle soft nofile 1024
oracle hard nofile 65536
#end
2) 编辑文件/etc/pam.d/login添加以下内容
[[email protected] ~]# vim /etc/pam.d/login
#Oracle
session required pam_limits.so
#end
3) 编辑/etc/profile文件添加以下内容
[[email protected] ~]# vim /etc/profile
#oracle
if [ $USER = "oracle" ]; then
if [ $SHELL = "/bin/ksh" ]; then
ulimit -p 16384
ulimit -n 65536
else
ulimit -u 16384 -n 65536
fi
umask 022
fi
#end - 设置环境变量
1) 在oracle用户下编辑文件.bash_profile添加以下内容
[[email protected] ~]# su - oracle
[[email protected] ~]$ vim .bash_profile
ORACLE_BASE=/u01/app/oracle
ORACLE_HOME=$ORACLE_BASE/product/11.2.0/dbhome_1
ORACLE_SID=oa
PATH=$ORACLE_HOME/bin:$PATH
export ORACLE_BASE ORACLE_HOME ORACLE_SID PATH
2) 执行source .bash_profile命令使环境变量生效
[[email protected] ~]$ source .bash_profile
2)执行setenforce 0不重启操作系统临时关闭selinux模式
[[email protected] ~]$ setenforce 0
9.安装oracle
1) 上传安装文件
[[email protected] ~]# cd /home/oracle/
[[email protected] oracle]# ls
p13390677_112040_Linux-x86-64_1of7.zip p13390677_112040_Linux-x86-64_2of7.zip
2) 解压
[[email protected] oracle]# unzip p13390677_112040_Linux-x86-64_1of7.zip
[[email protected] oracle]# unzip p13390677_112040_Linux-x86-64_2of7.zip
[[email protected] oracle]# ls
database p13390677_112040_Linux-x86-64_1of7.zip p13390677_112040_Linux-x86-64_2of7.zip
3) 使用Xshell远程登录执行runInstaller开始安装
[[email protected] ~]# export DISPLAY=192.168.4.56:0.0
[[email protected] ~]# su - oracle
Last login: Fri Jan 18 19:24:18 CST 2019 on pts/1
[[email protected] ~]$ export DISPLAY=192.168.4.56:0.0
4)测试结果
[[email protected] ~]# xhost +
access control disabled,clients can connect from any host
Last login: Fri Jan 18 19:30:13 CST 2019 on pts/0
[[email protected] ~]$ cd database/
[[email protected] database]$ ./runInstaller
Starting Oracle Universal Installer...
Checking Temp space: must be greater than 120 MB. Actual 44343 MB Passed
Checking swap space: must be greater than 150 MB. Actual 16383 MB Passed
Checking monitor: must be configured to display at least 256 colors. Actual 16777216 Passed
Preparing to launch Oracle Universal Installer from /tmp/OraInstall2019-01-18_07-43-51PM. Please wait ...[[email protected] da
tabase]$
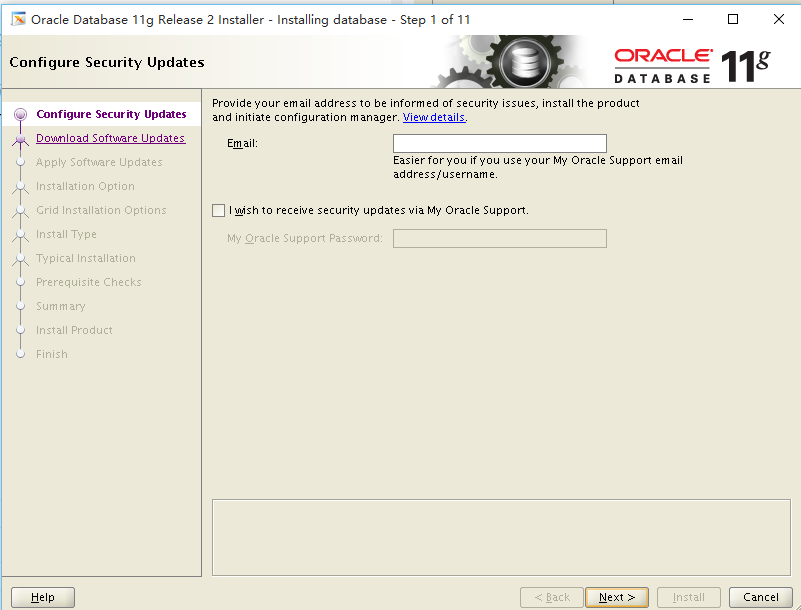
4) 启动安装界面
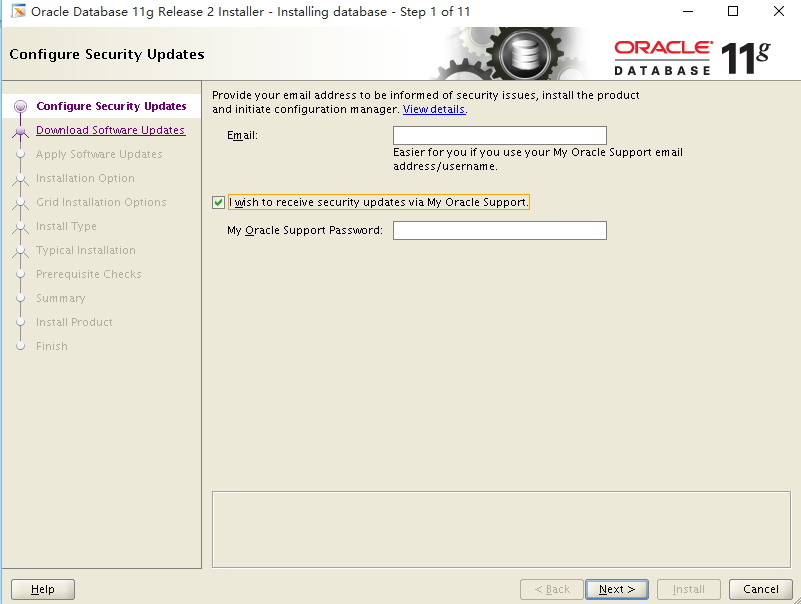
5) 取消 I wish to receive security updates via my Oracle Support.勾选,点击下一步
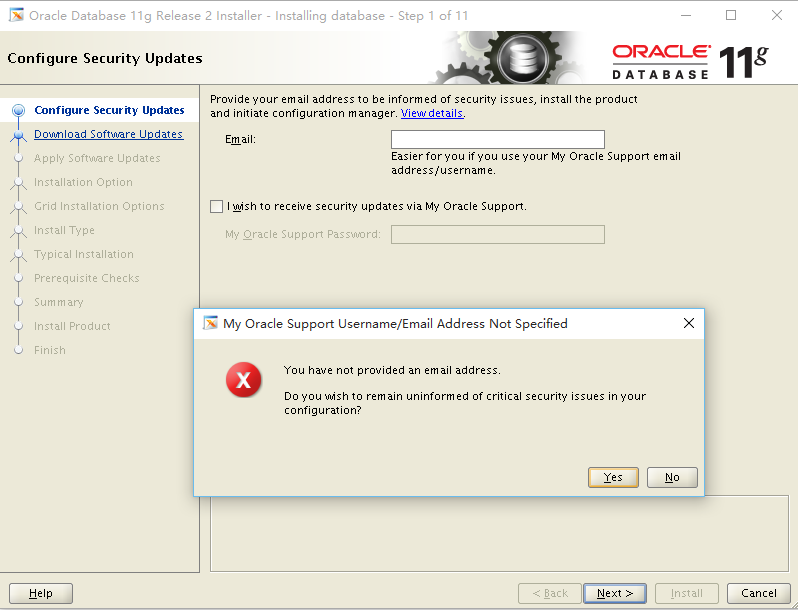
6) 此报错可以忽略,点击Yes,并点击下一步
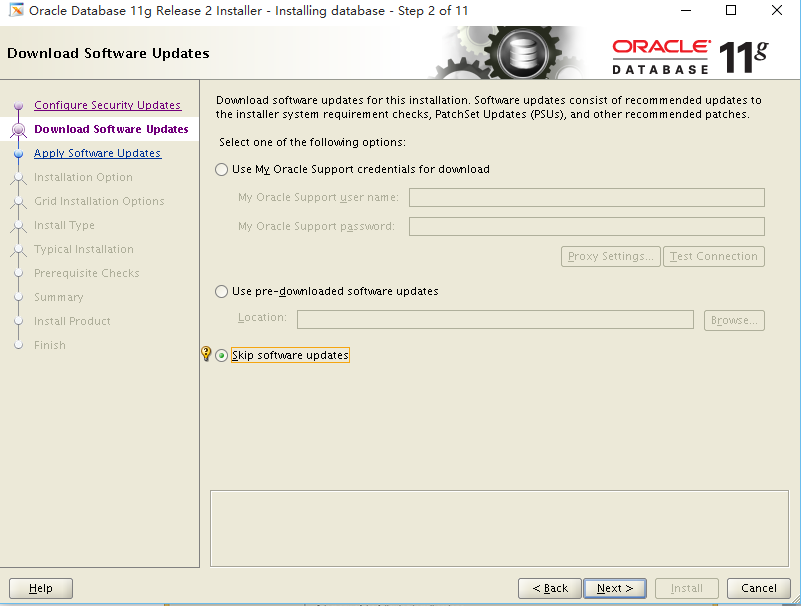
7) 选择Skip software updates,点击下一步
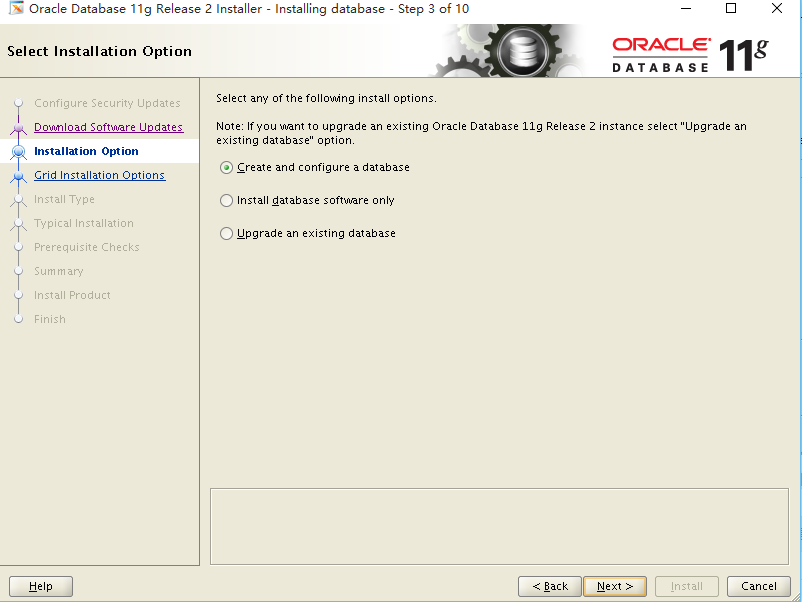
8) 选择Create and configure a database,点击下一步
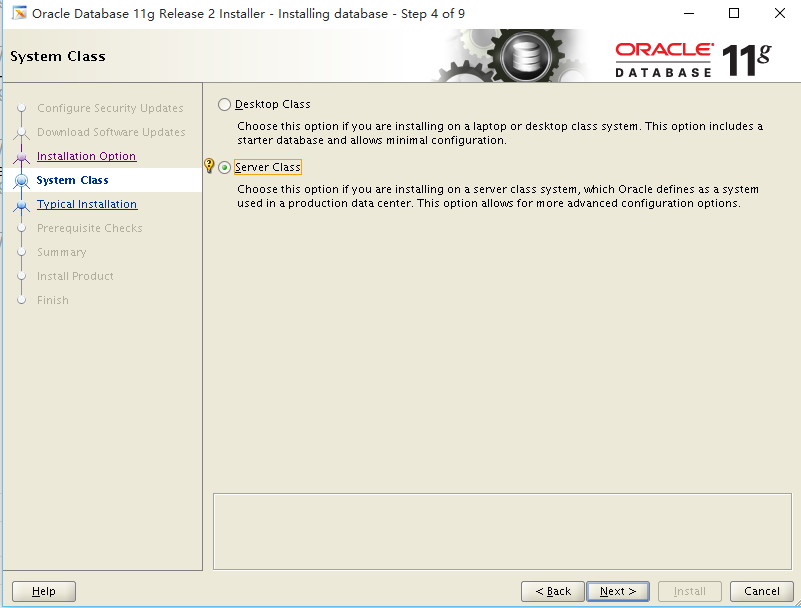
9) 选择Server Class,点击下一步
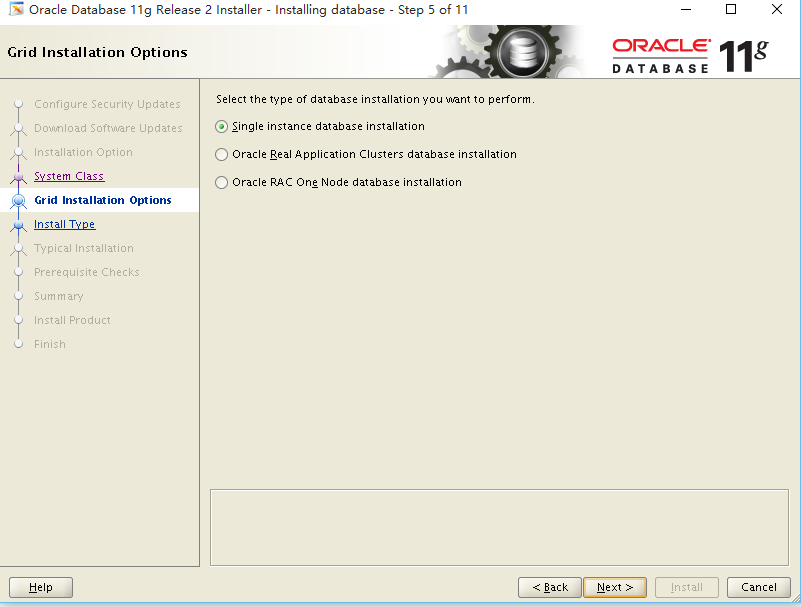
10) 选择Single instance database installation,点击下一步
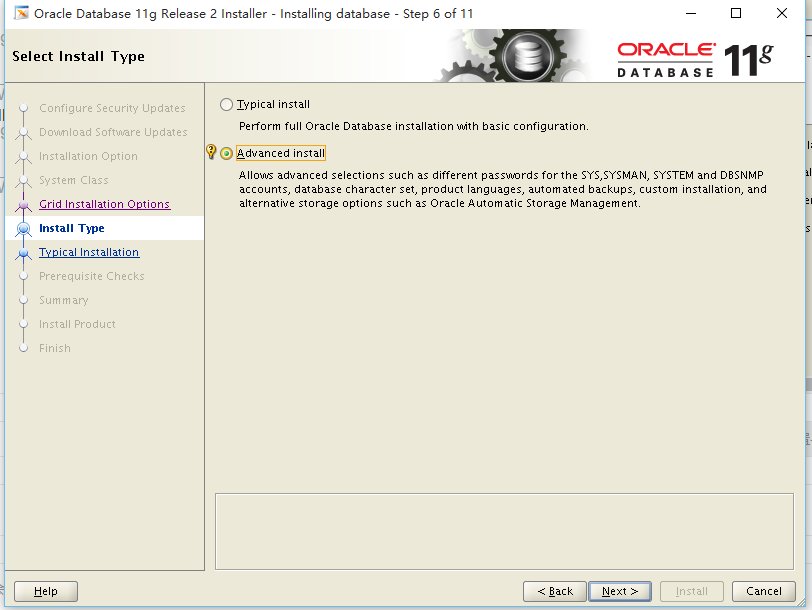
11) 选择Advanced install,点击下一步
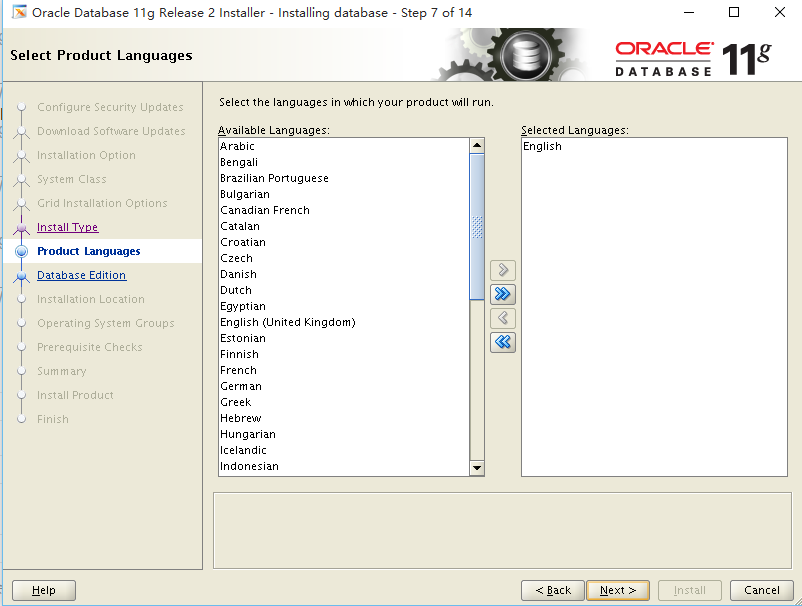
12) 选择语言English,点击下一步
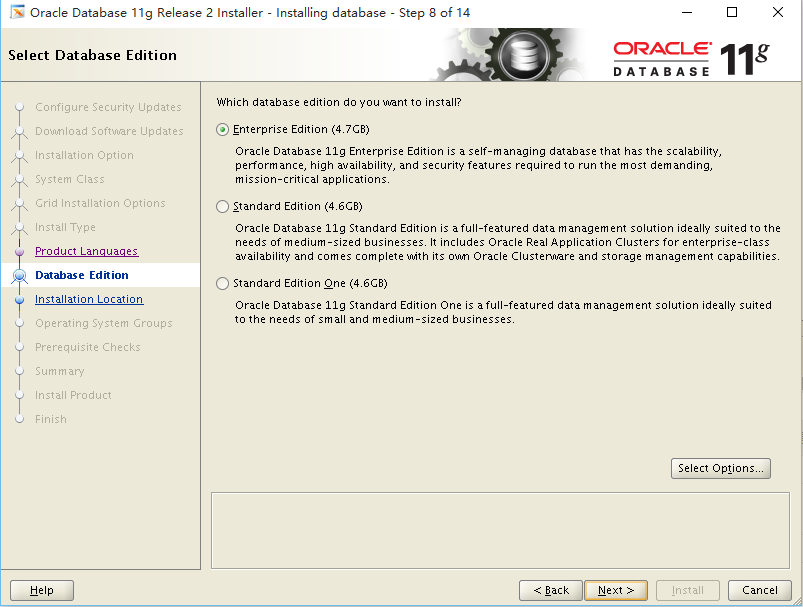
13) 选择Enterprise Edition,点击下一步
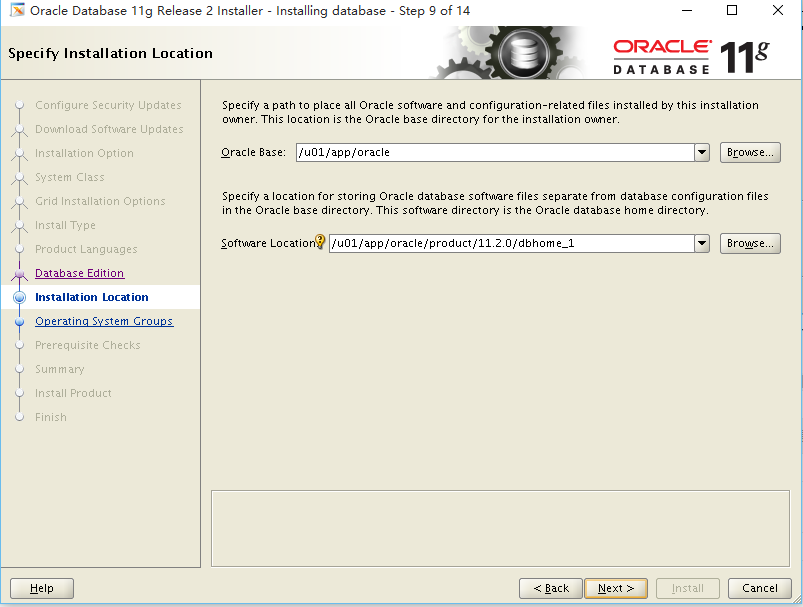
14) 选择Oracle Base、Software Location路径,点击下一步
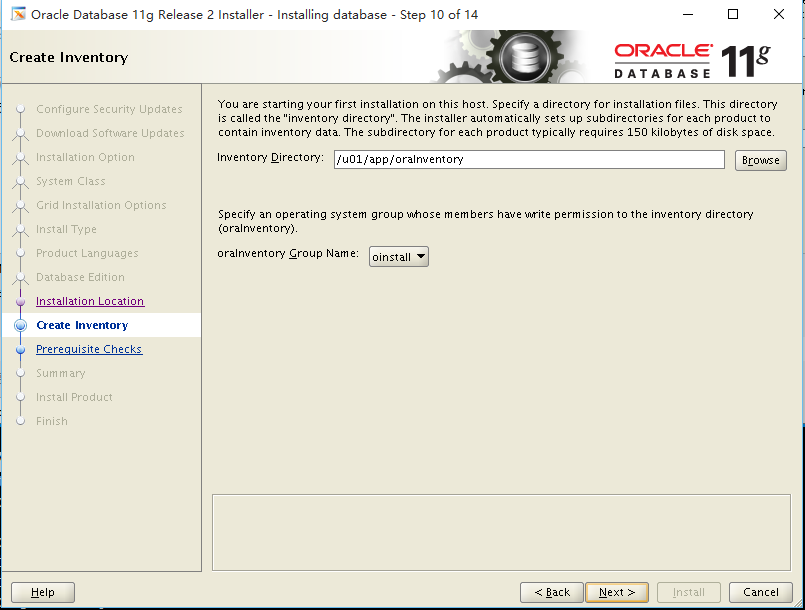
15) 选择Inventory Directory,点击下一步
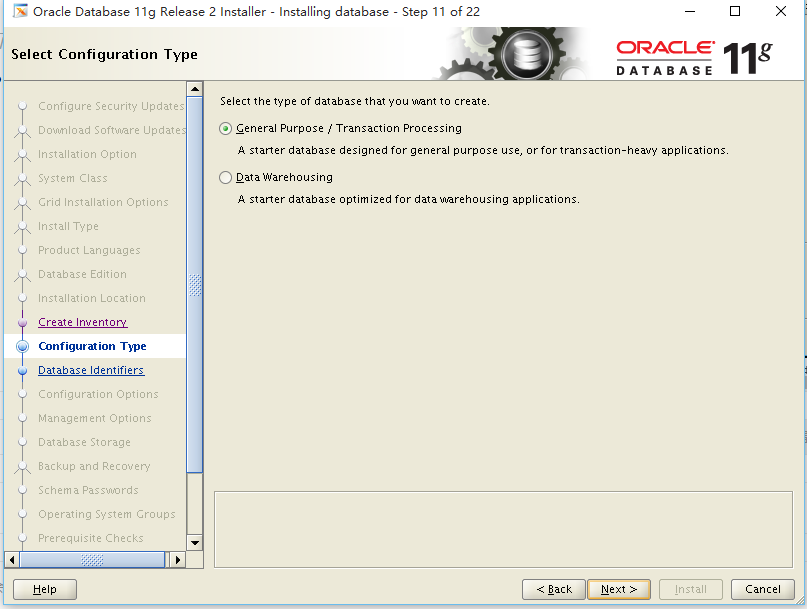
16) 选择General Purpose/Transaction Processing,点击下一步
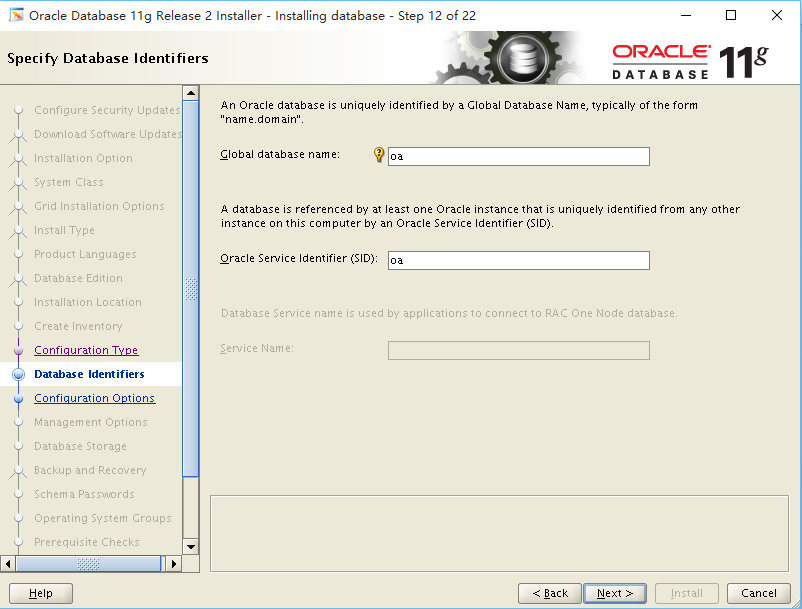
17) 设置Global database name、Oracle Service Identifier,Global database name和Oracle Service Identifier保持一致,点击下一步
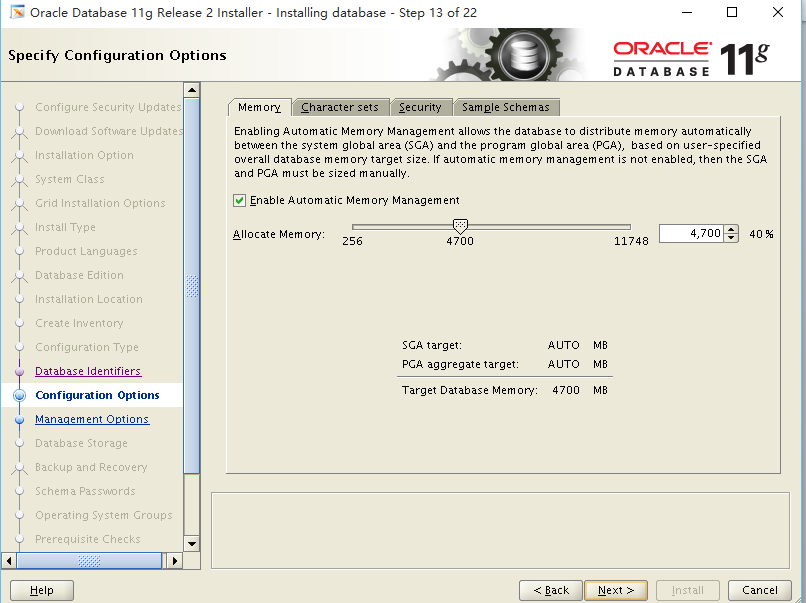
18) 设置Memory,选择Enable Automatic Memory Management
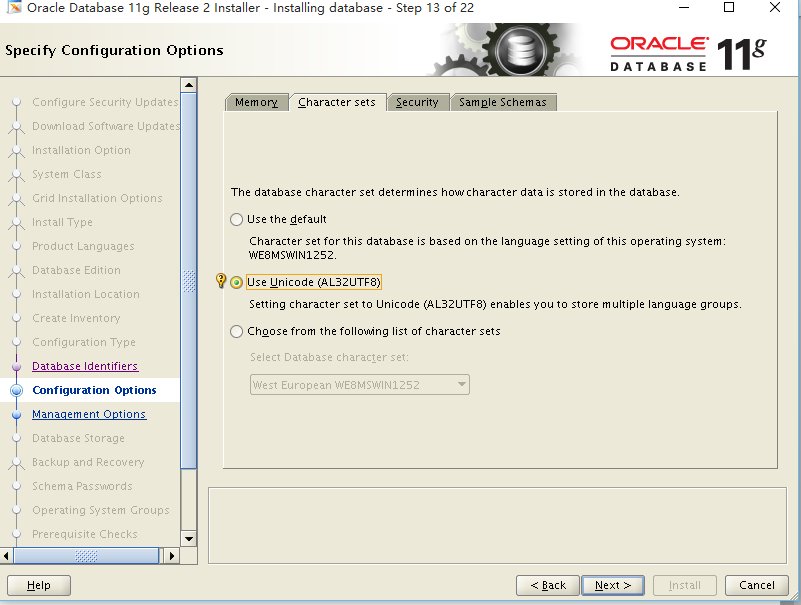
19) 设置Character sets,选择Use Unicode(AL32UTF8)
20) 设置Security,保持默认选项
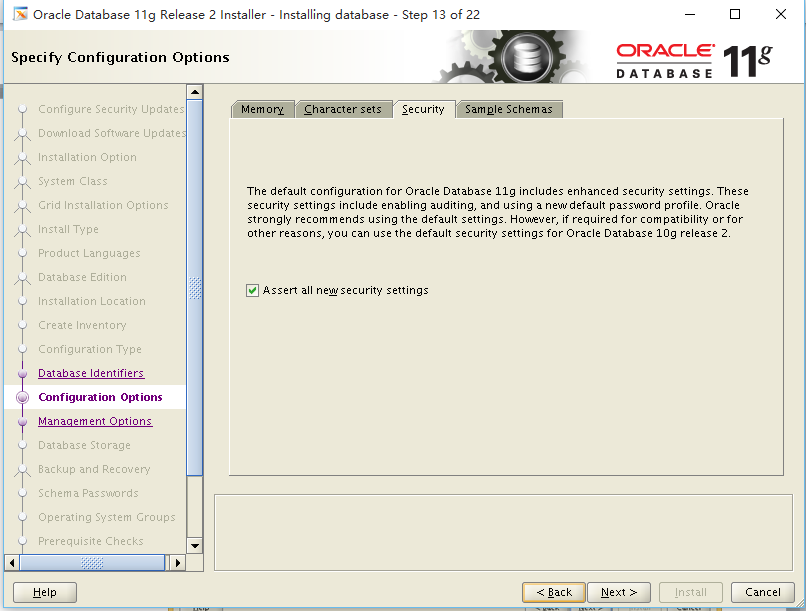
21) 设置Sample Schemas,保持默认选项,点击下一步
@H_277_301@
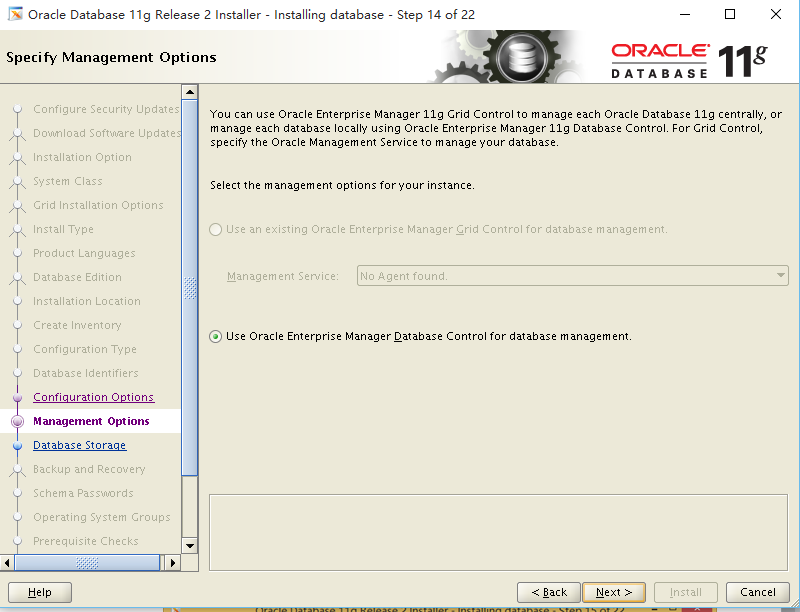
22) 保持默认选项,点击下一步
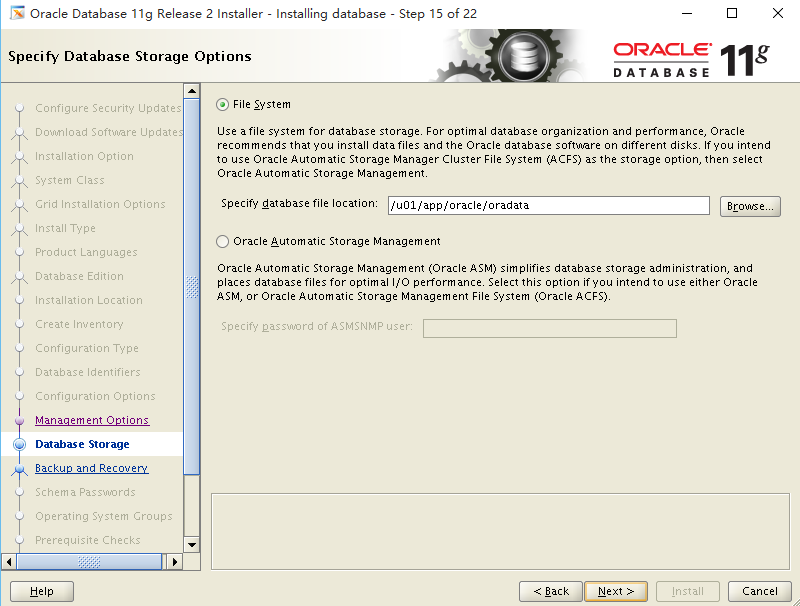
23) 保持默认选项,点击下一步
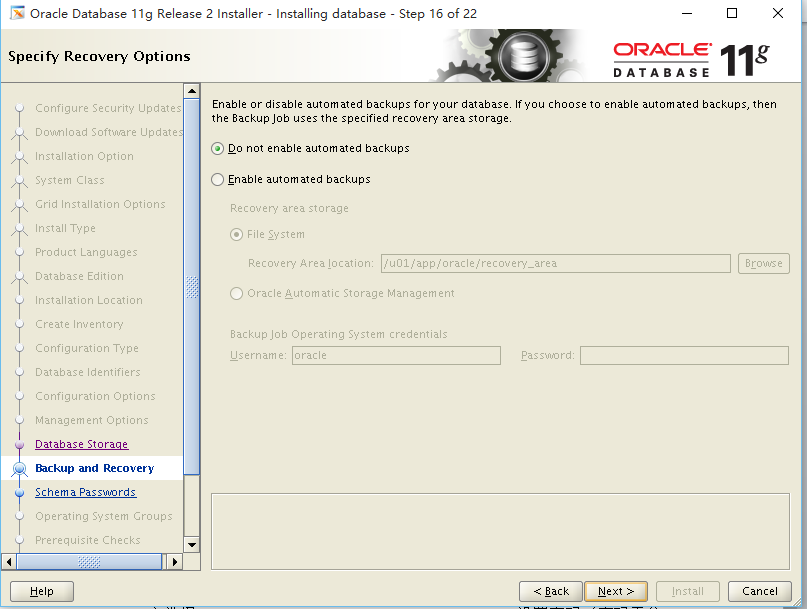
24) 保持默认选项,点击下一步
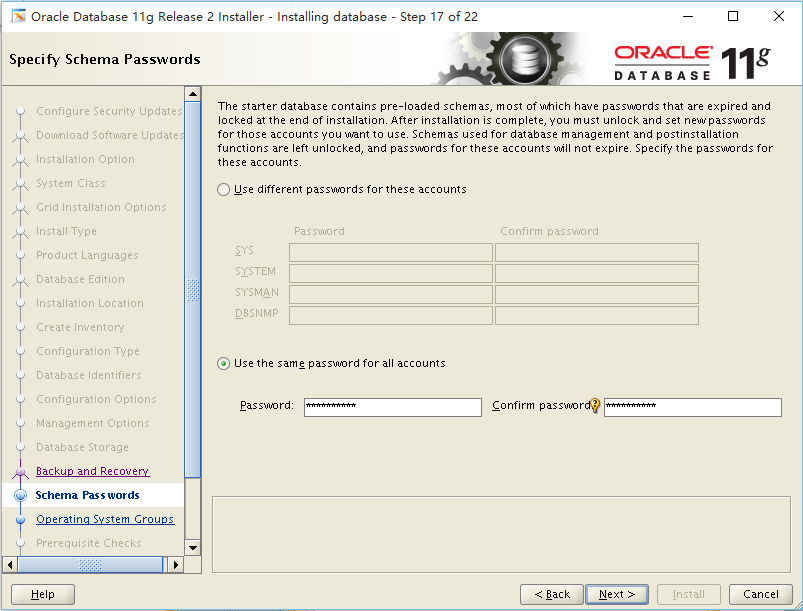
25) 选择Use the same password for all accounts,设置密码(密码需参考密码管理规范),点击下一步
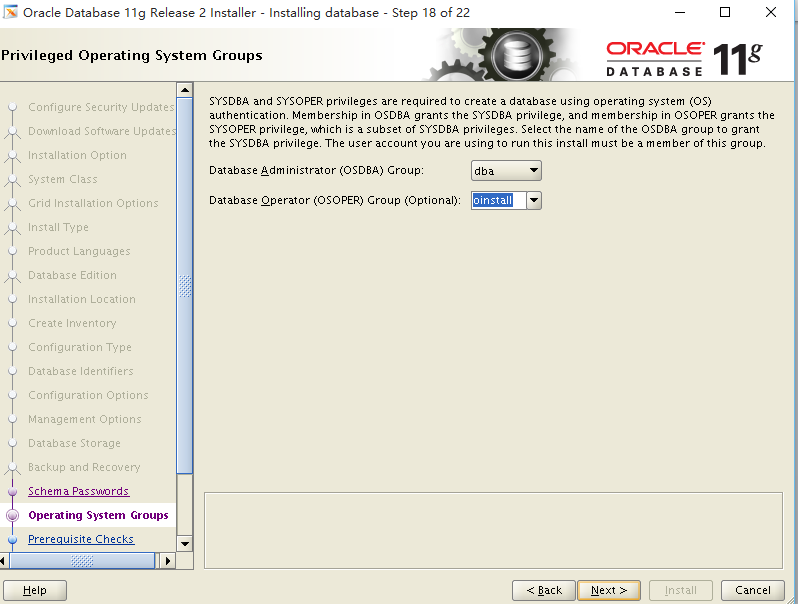
26) Database Operator(OSOPER) Group(Optional)选择oinstall,点击下一步
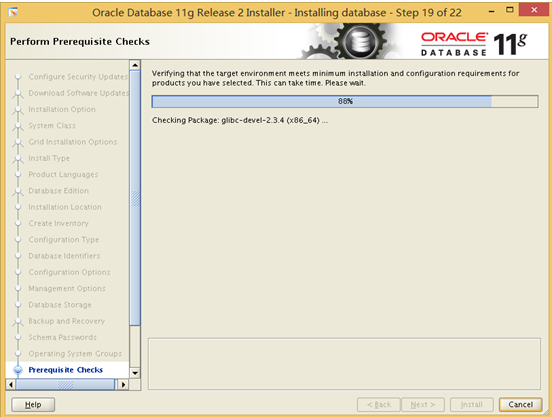
27) 安装程序进行配置检查
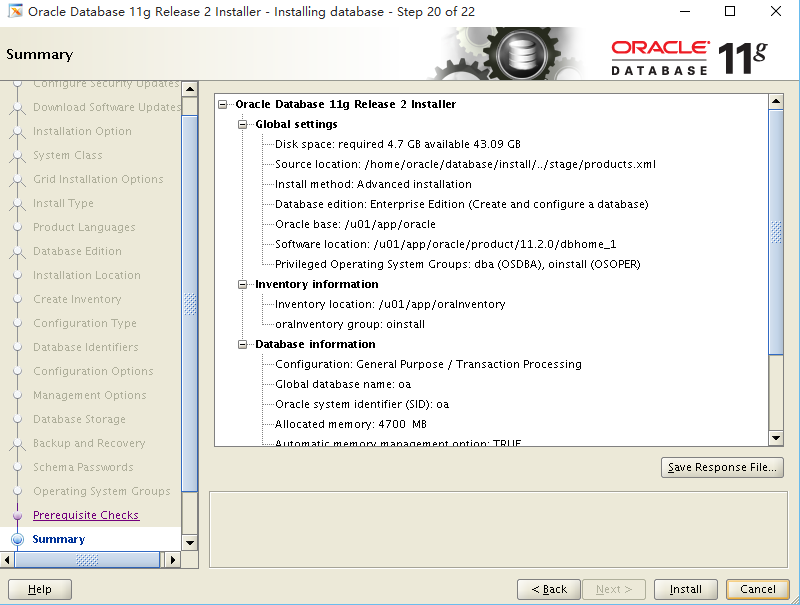
28) 配置检查通过,点击Install
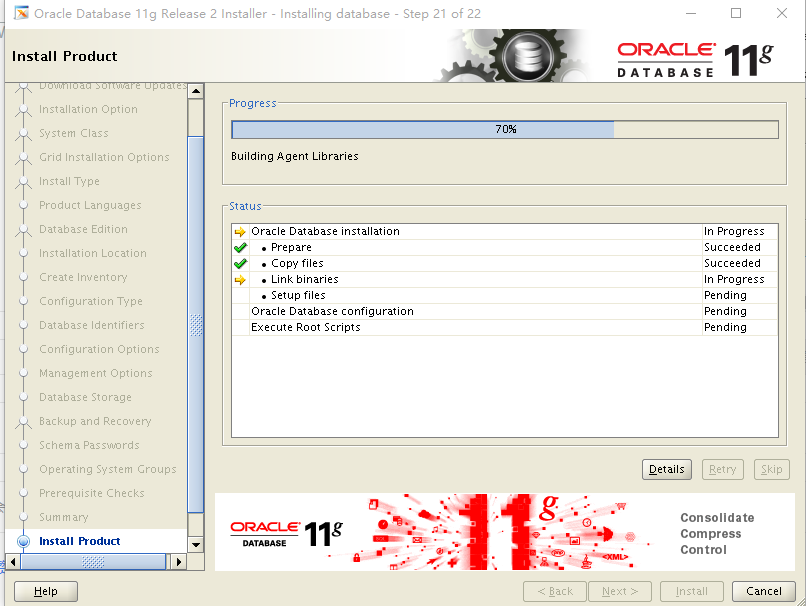
39) 开始安装
30) 报错
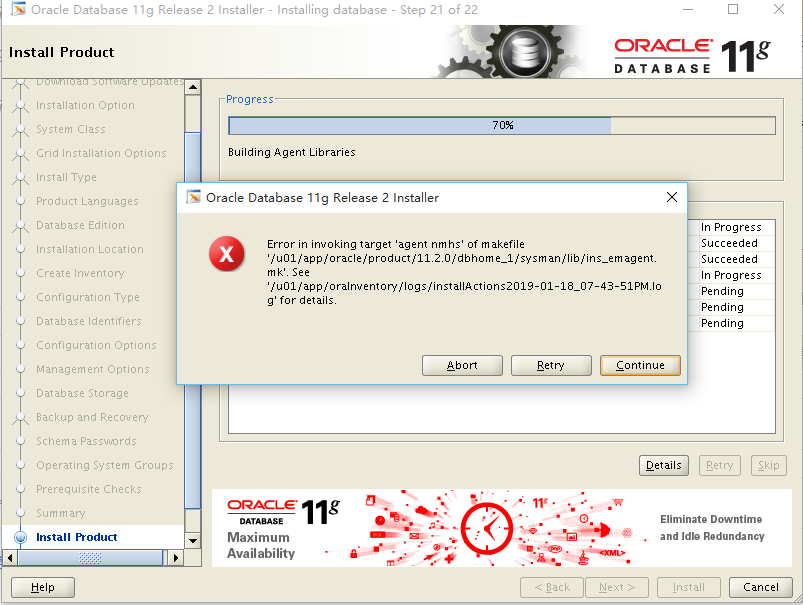
解决办法:
[[email protected] database]$ vi $ORACLE_HOME/sysman/lib/ins_emagent.mk
Search for the line
$(MK_EMAGENT_NMECTL)
Change it to:
$(MK_EMAGENT_NMECTL) -lnnz11
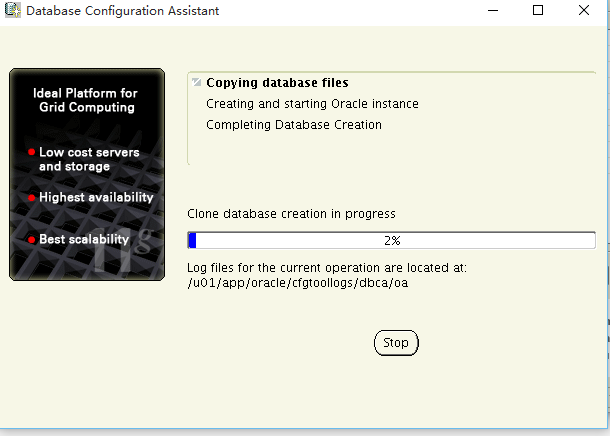
31) 创建数据库
32) 创建数据库完成,点击Password Management修改sys,system用户密码,并确定OK。

33)提示使用root用户执行两个shell脚本
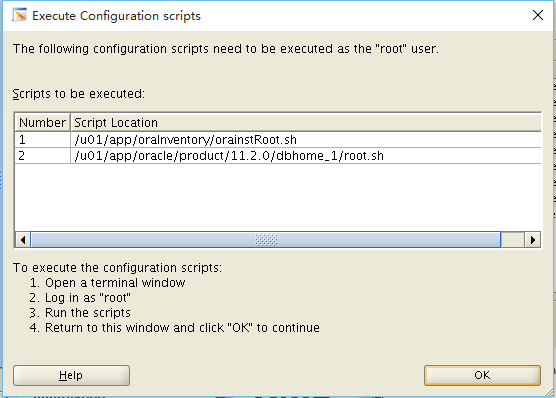
34) 执行shell脚本
[[email protected] ~]# /u01/app/oraInventory/orainstRoot.sh
Changing permissions of /u01/app/oraInventory.
Adding read,write permissions for group.
Removing read,write,execute permissions for world.
Changing groupname of /u01/app/oraInventory to oinstall.
The execution of the script is complete.
[[email protected] ~]# /u01/app/oracle/product/11.2.0/dbhome_1/root.sh
Performing root user operation for Oracle 11g
The following environment variables are set as:
ORACLE_OWNER= oracle
ORACLE_HOME= /u01/app/oracle/product/11.2.0/dbhome_1
Enter the full pathname of the local bin directory: [/usr/local/bin]:
Copying dbhome to /usr/local/bin ...
Copying oraenv to /usr/local/bin ...
Copying coraenv to /usr/local/bin ...
Creating /etc/oratab file...
Entries will be added to the /etc/oratab file as needed by
Database Configuration Assistant when a database is created
Finished running generic part of root script.
Now product-specific root actions will be performed.
Finished product-specific roo
35) 单击OK,安装完成。
